Nail Art Step by Step: Glittering Christmas Baubles
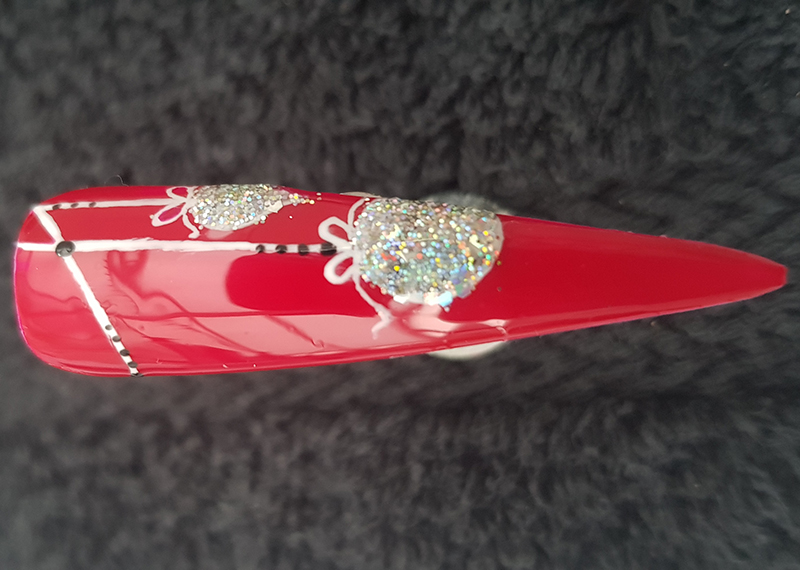
Session nail tech, salon owner and educator, Marie-Louise Coster, shares her glitter bauble nail art. Follow her ‘how to' step by step to easily recreate the design for your clients ahead of Christmas.
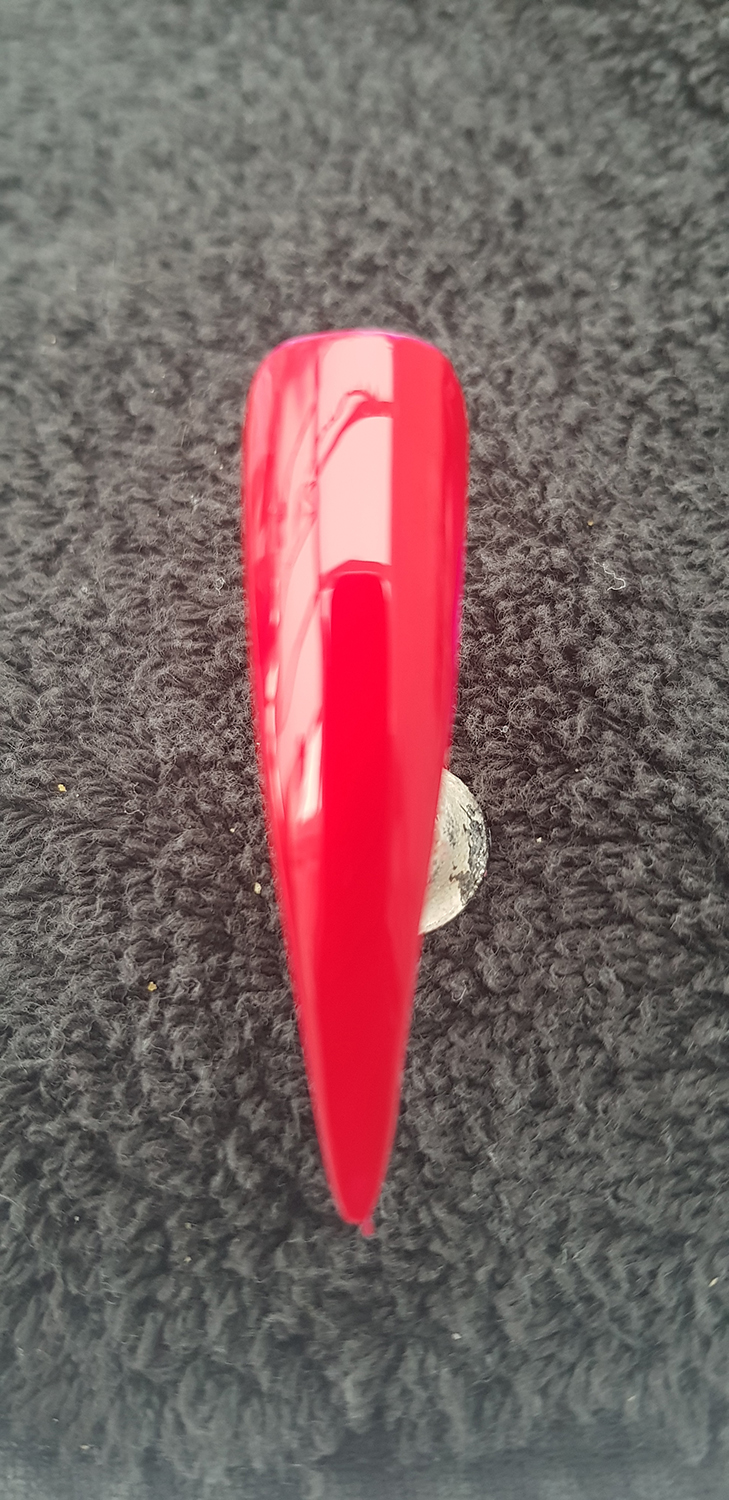 Step 1
Prep the nail, and then apply a gel polish base coat and cure.
Apply two coats of Artistic Nail Design in Hotzy, and cure between each coat.
Seal with top coat and cure. Remove the inhibition layer.
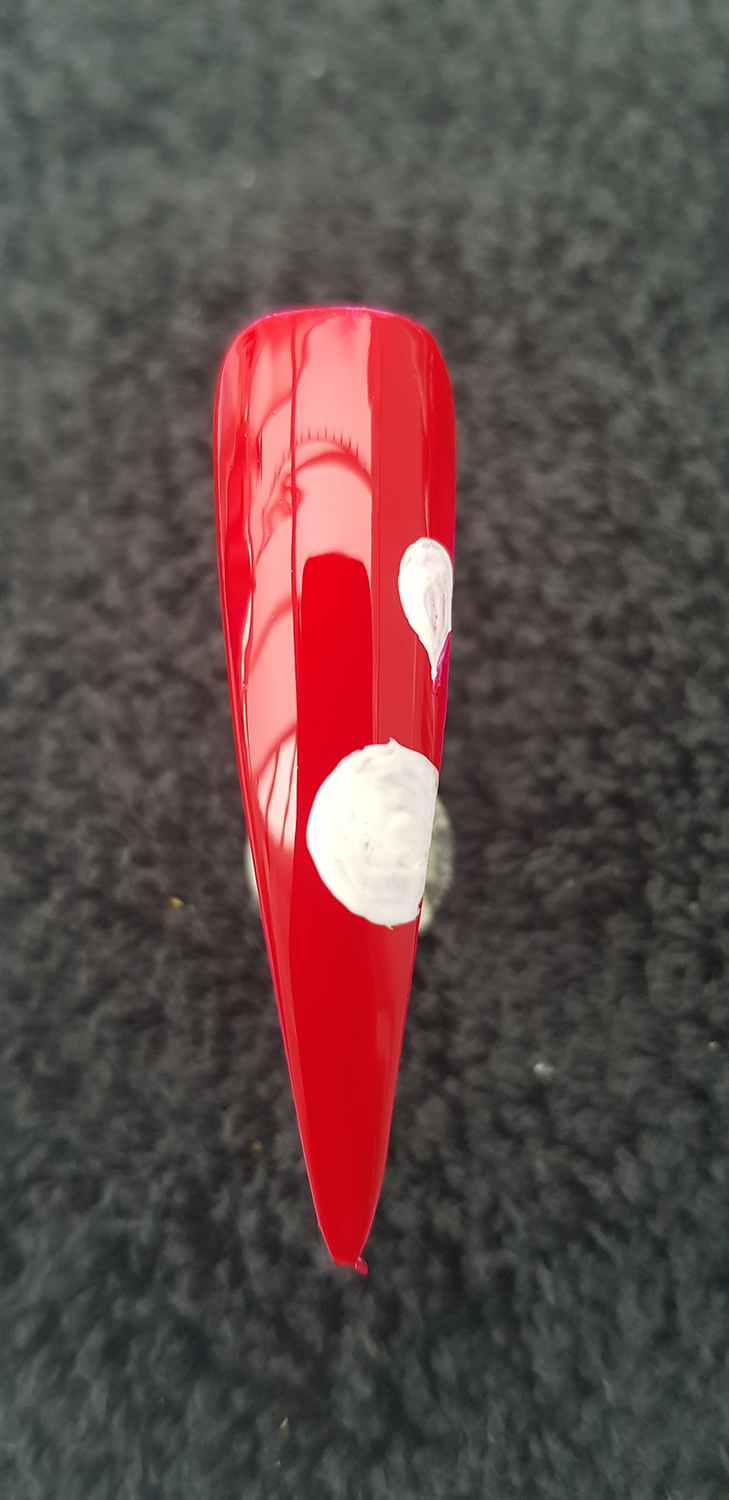 Step 2
Using Artistic Nail Design in Bride, draw two circles and fill them in. They need to be staggered in height, one needs to be larger than the other, and the smaller one needs a slight point at the base of it to turn it in to more of a tear drop shape. Cure.
If you need to apply a second coat to create depth of colour, do so and cure again.
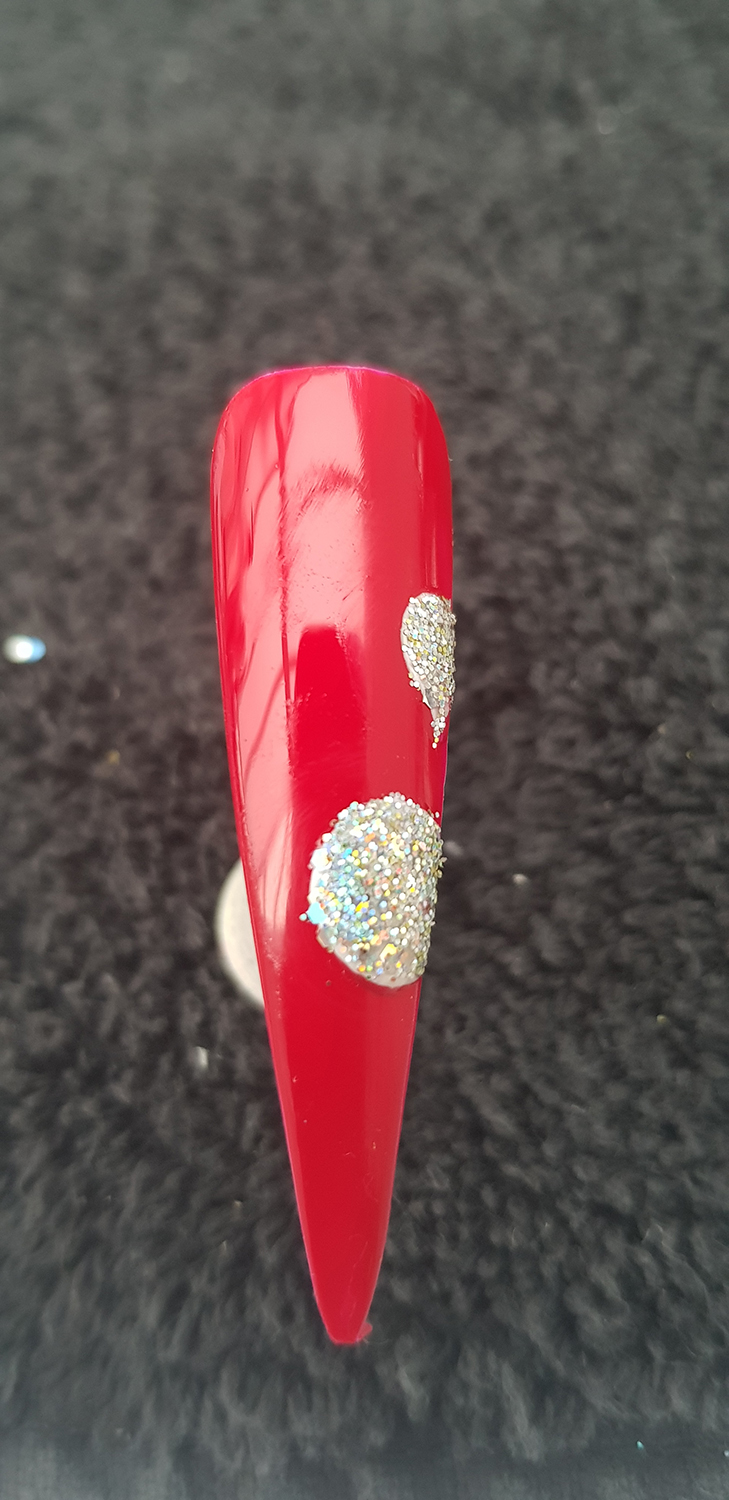 Step 3
Using Lecenté Everest, apply glitter to your white circles. If you don't want to use glitter, you could draw a pattern on your baubles.
Seal the baubles with top coat and cure.
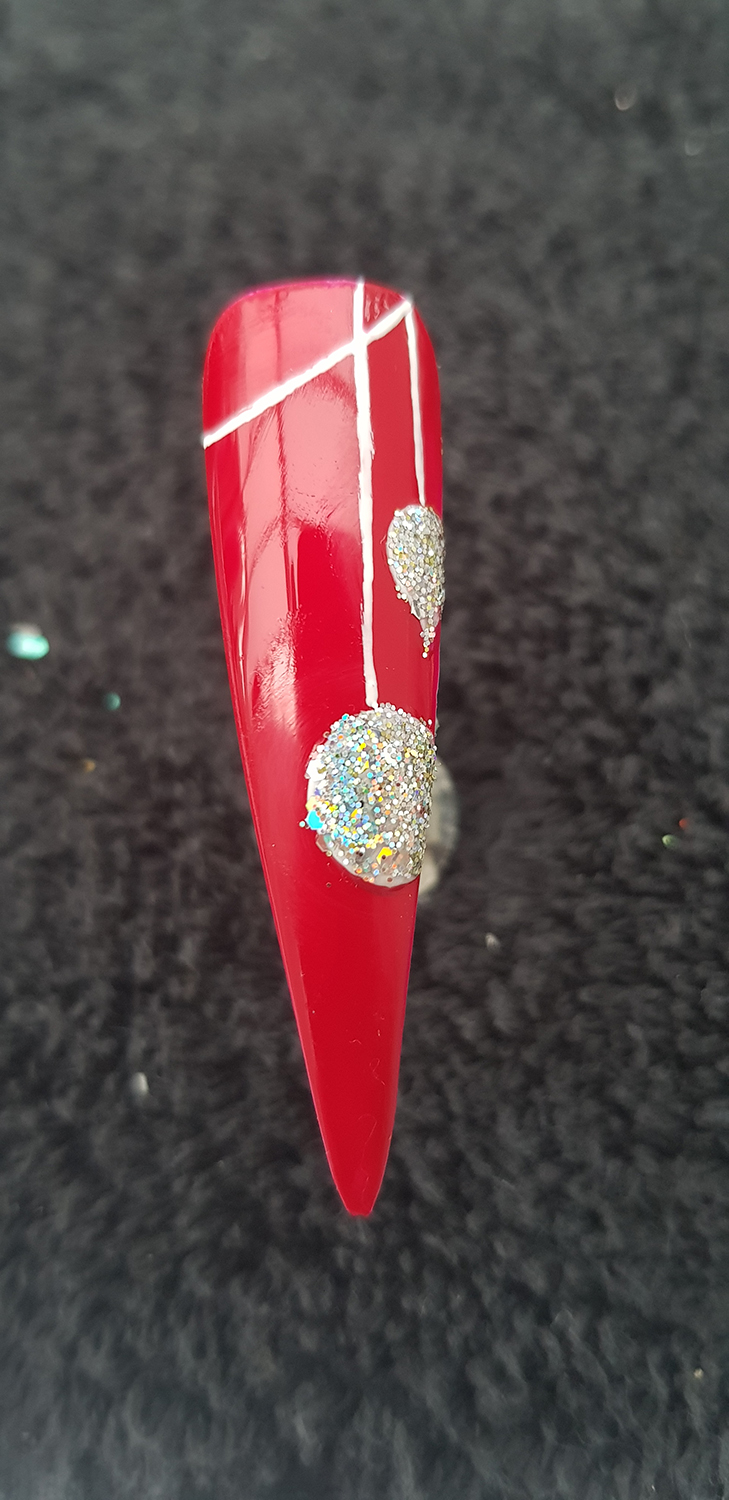 Step 4
Using Artistic Nail Design in Bride and a 00 brush, draw a line from the baubles to the base of the nail. Also draw a diagonal line across the nail. Cure.
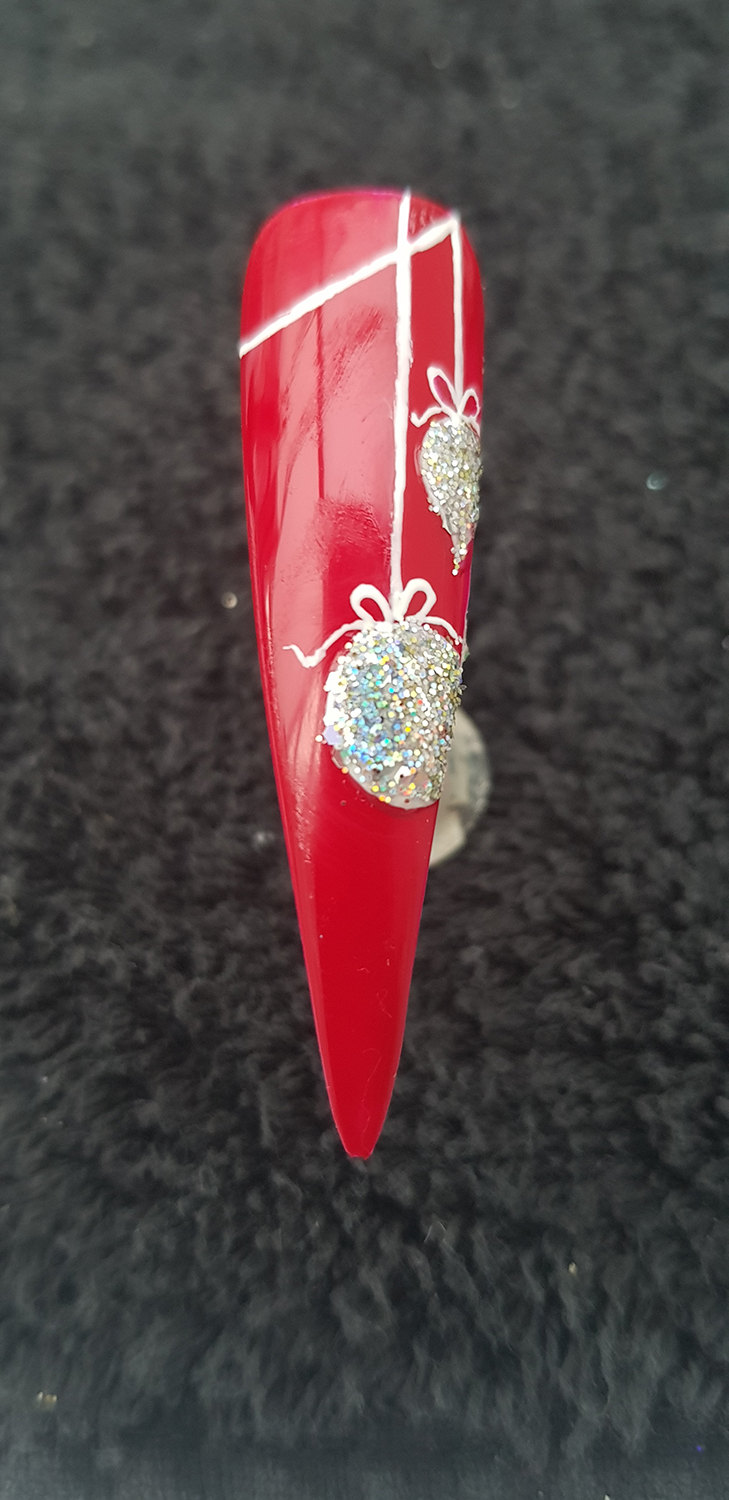 Step 5
Using Bride again, draw a bow at the base of your white line, on top of the bauble. Cure.
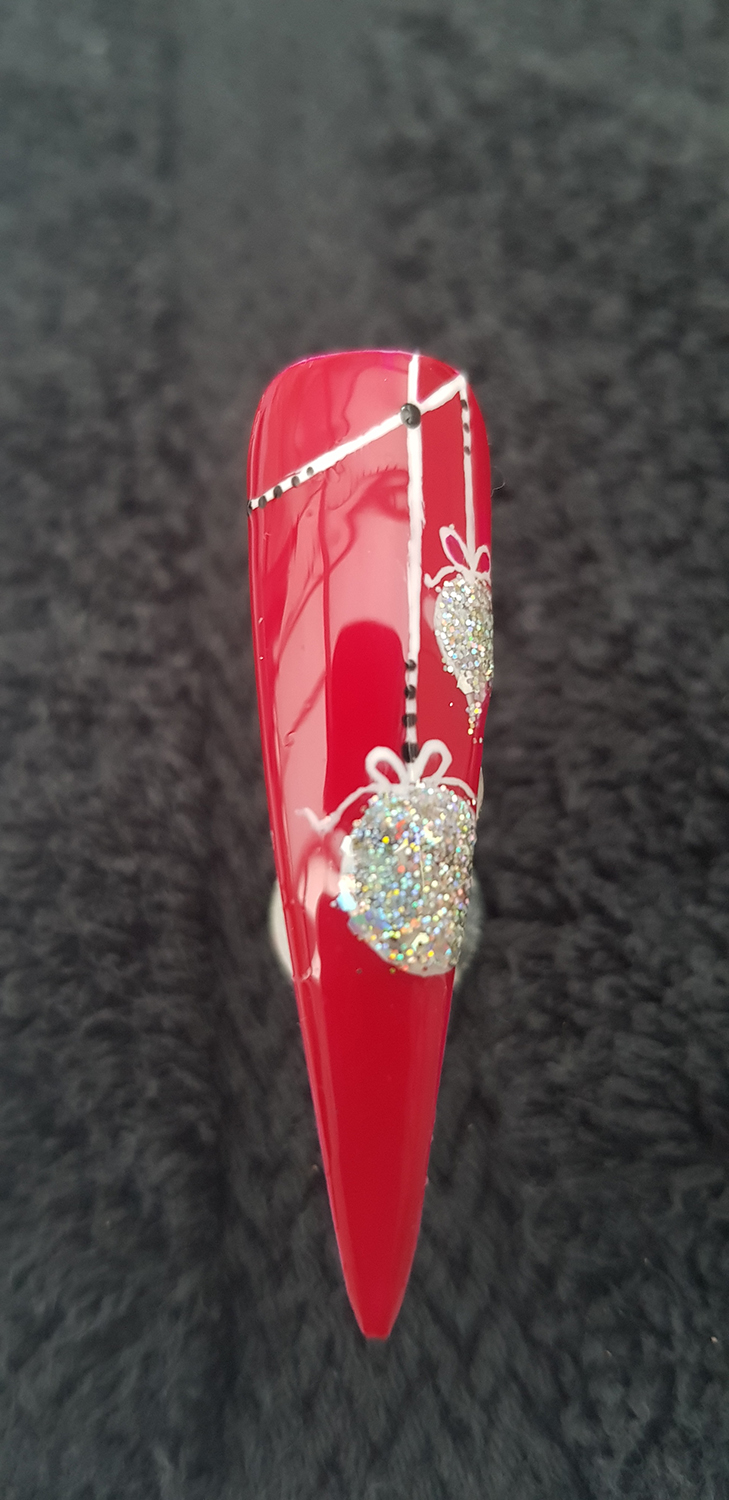 Step 6
Using Artistic Nail Design in Swag, add some dot details to your strings and cure.
Seal with top coat, cure and remove the inhibition layer.
Marie-Louise Coster is a Session Tech, Beauty Therapist, Trainer and Business Consultant, with over 20 years' experience in the industry. All About Mi Beauty & Holistic Training School is ABT-accredited.


