Nail Art Step by Step: Love is in the air!
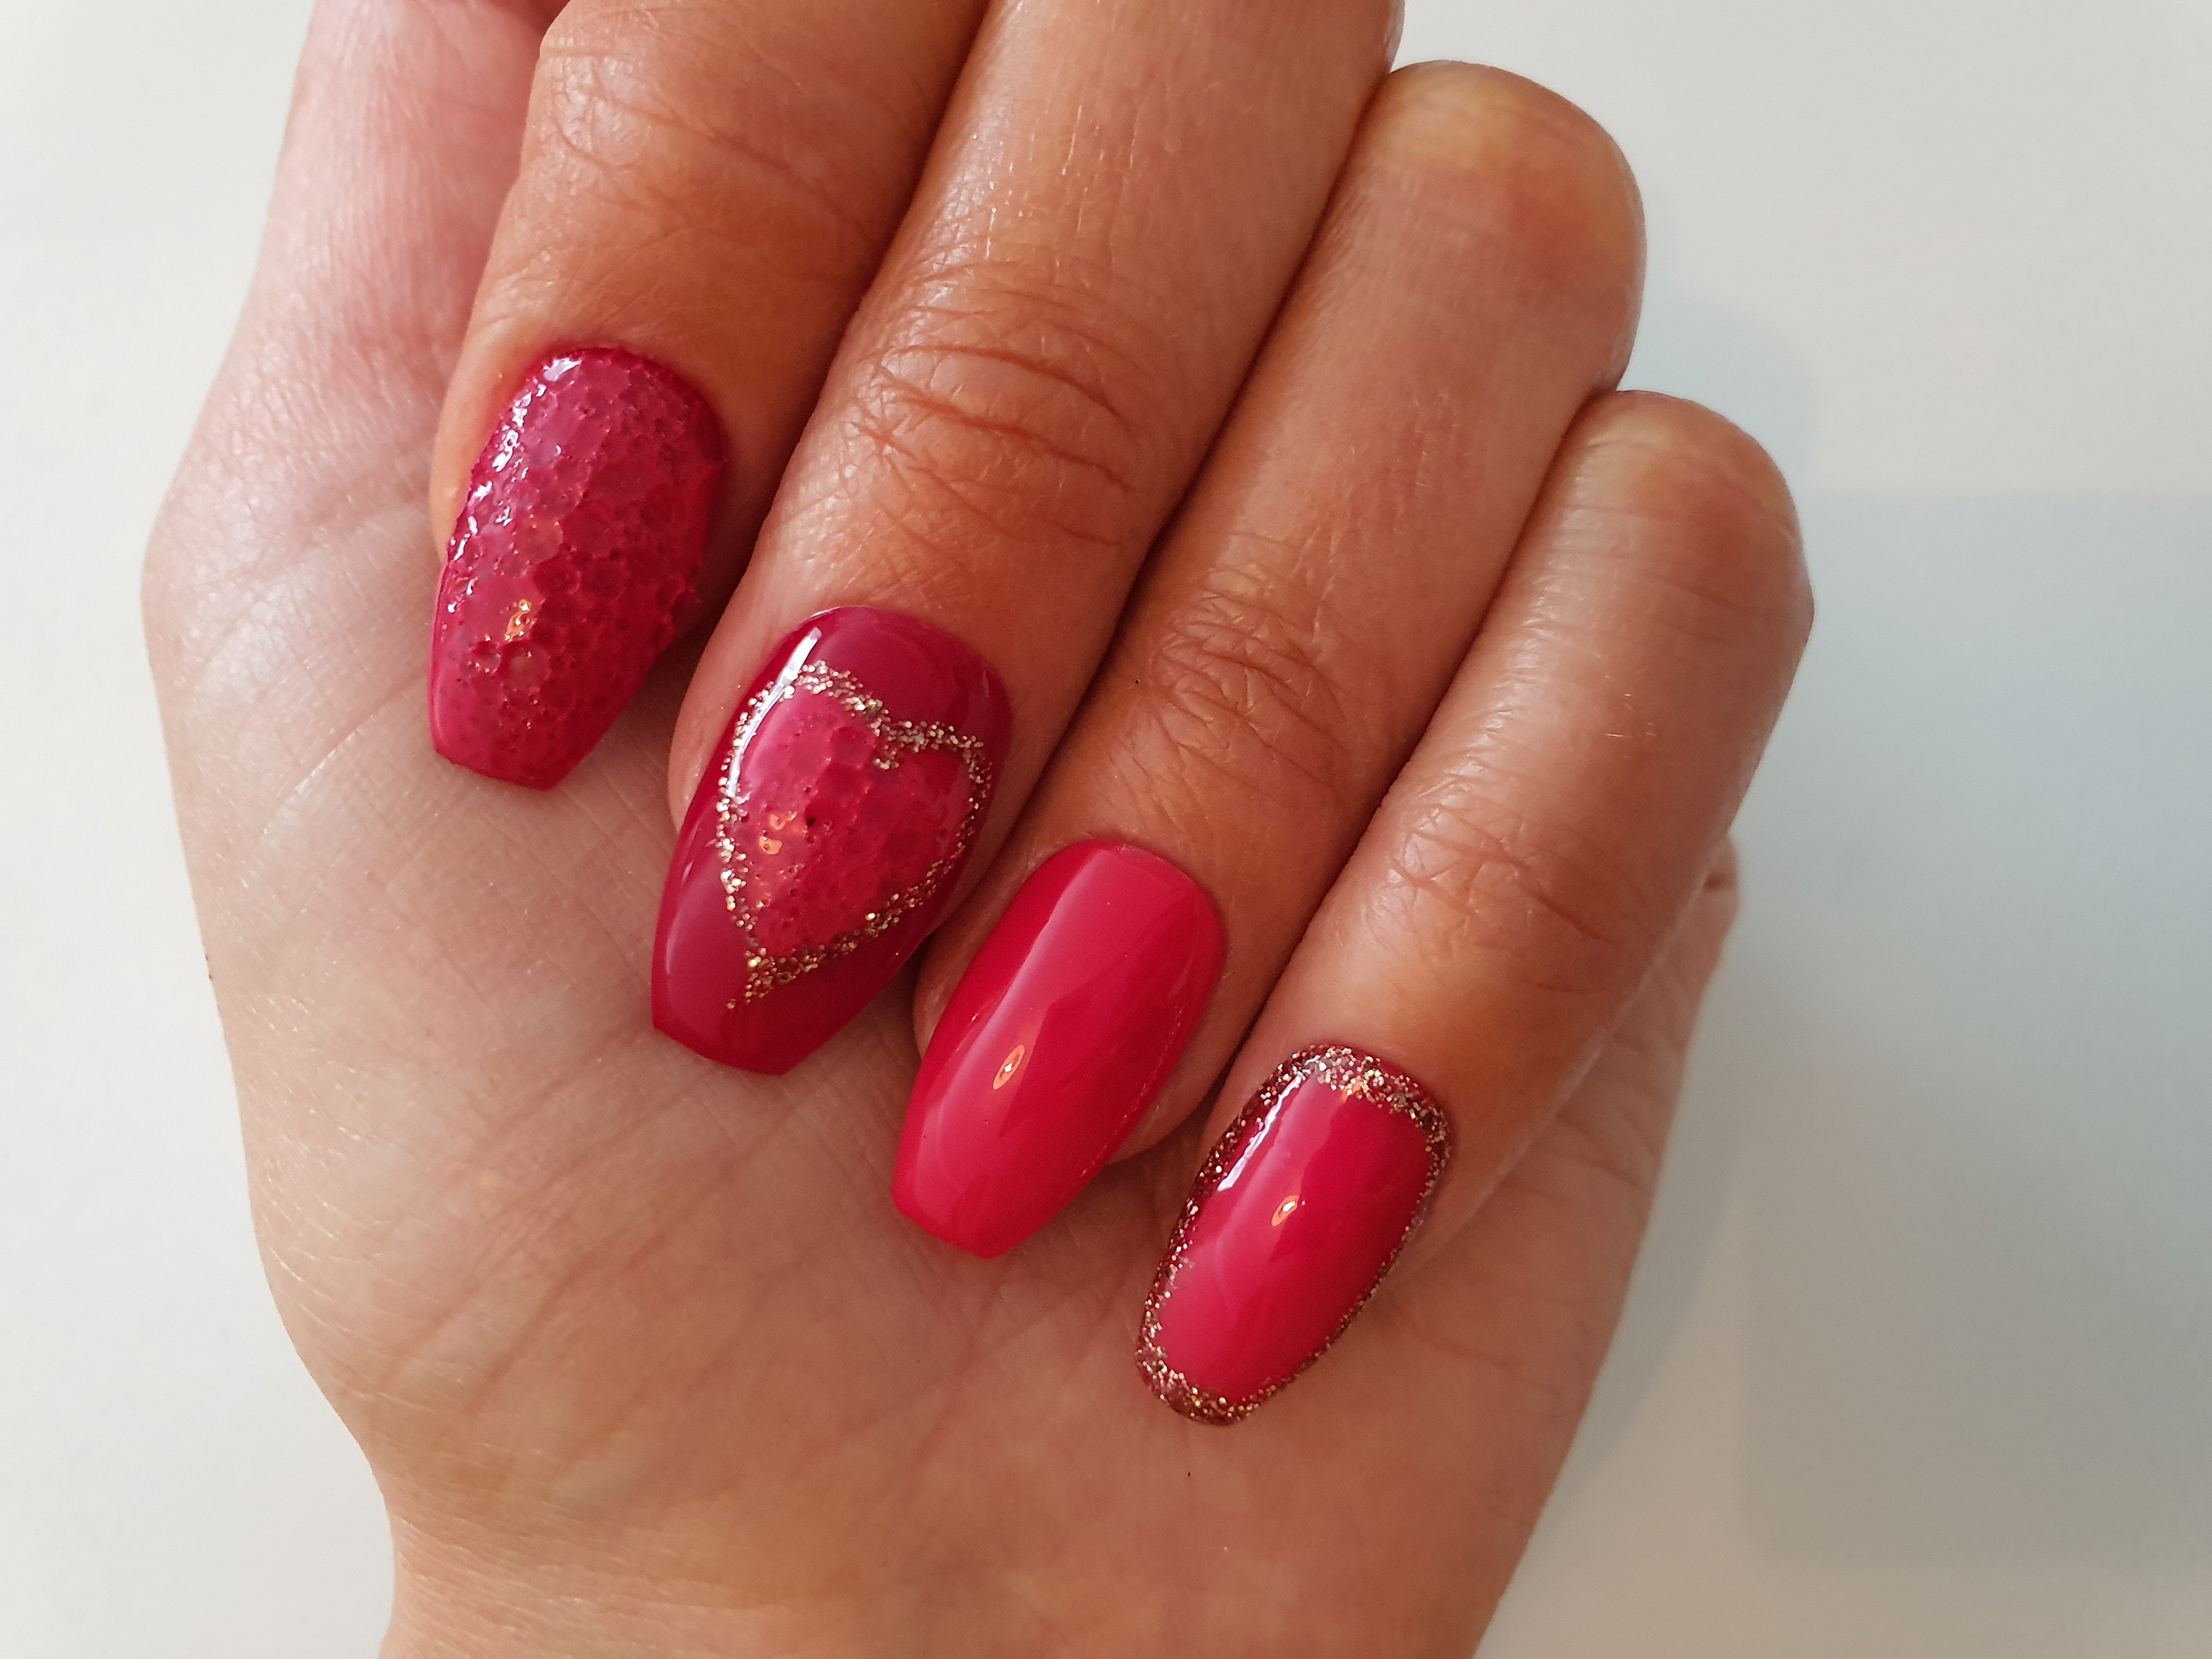
Feel the love with Salon System Nail expert Karen Louise's Valentine's-inspired bubble effect nail art design.
 Step 1
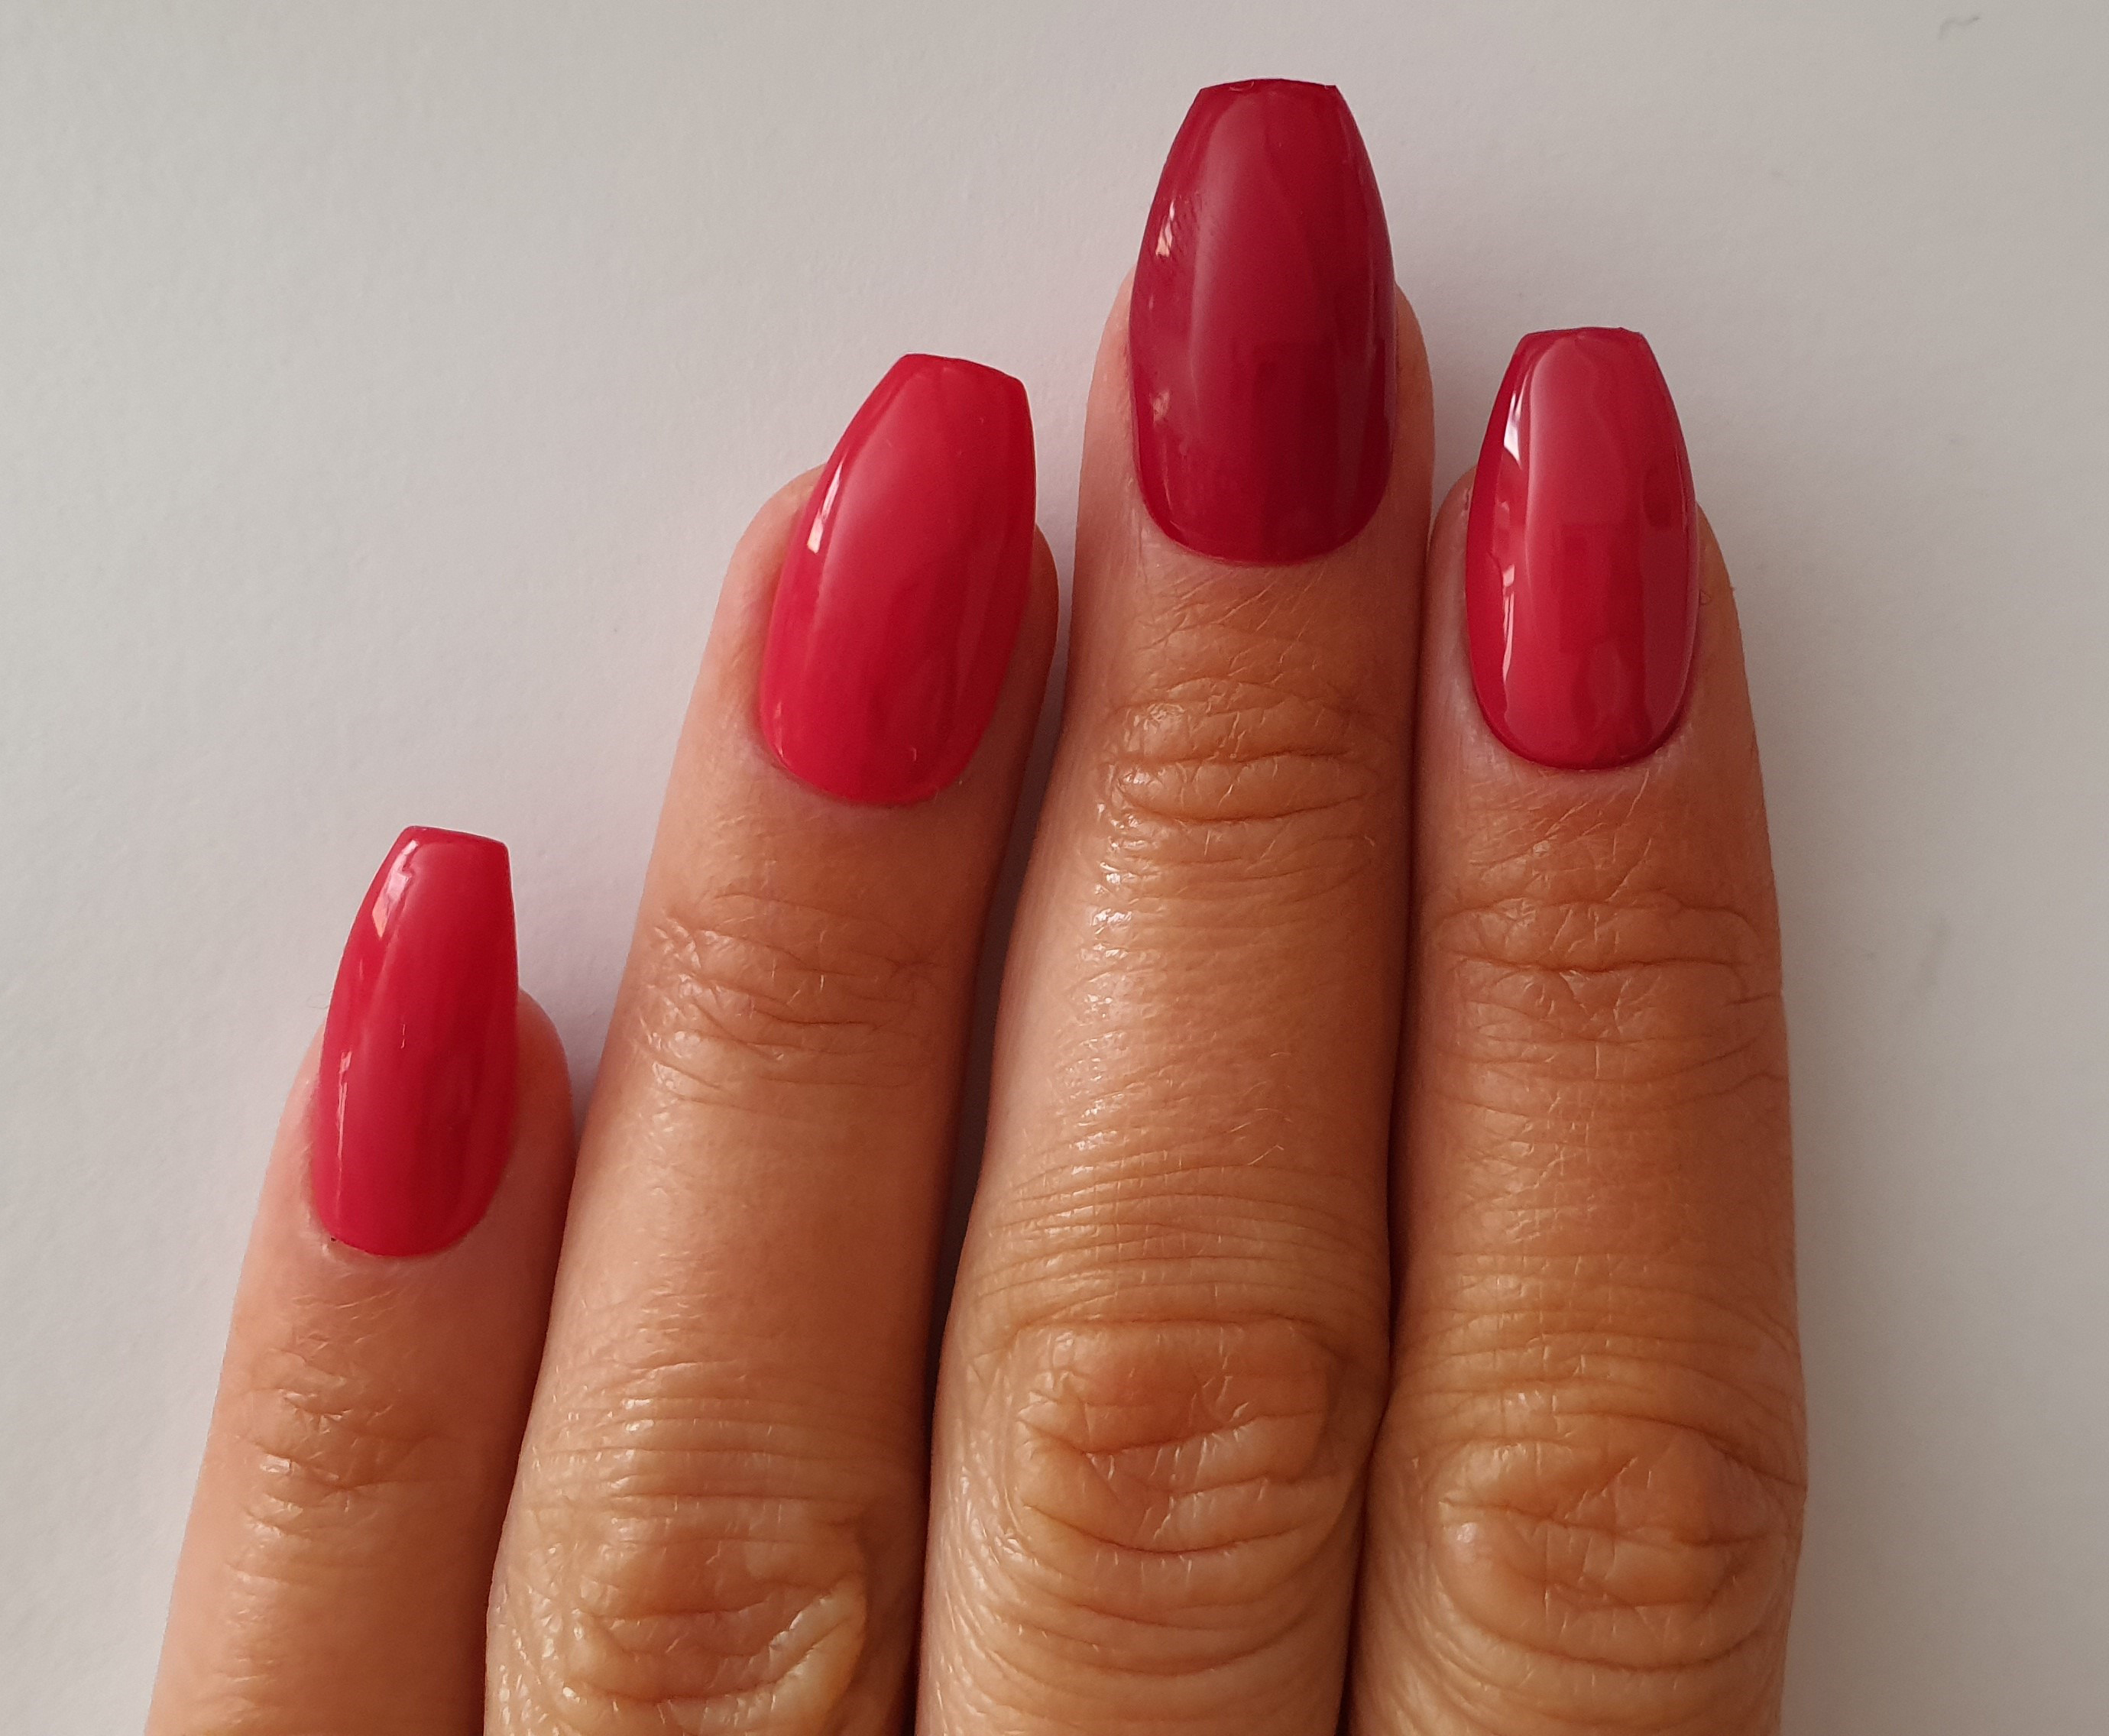
Firstly, start by prepping the nails by pushing back the cuticle, filing to shape and gently buff the nail.
Remove excess dust and wipe with the Gellux Prep + Wipe.
Then, using Gellux Fast Bond, apply to the nails and let dry. Finally, for the prep apply Gellux Easy Off Base Coat, and cure.
 Step 2
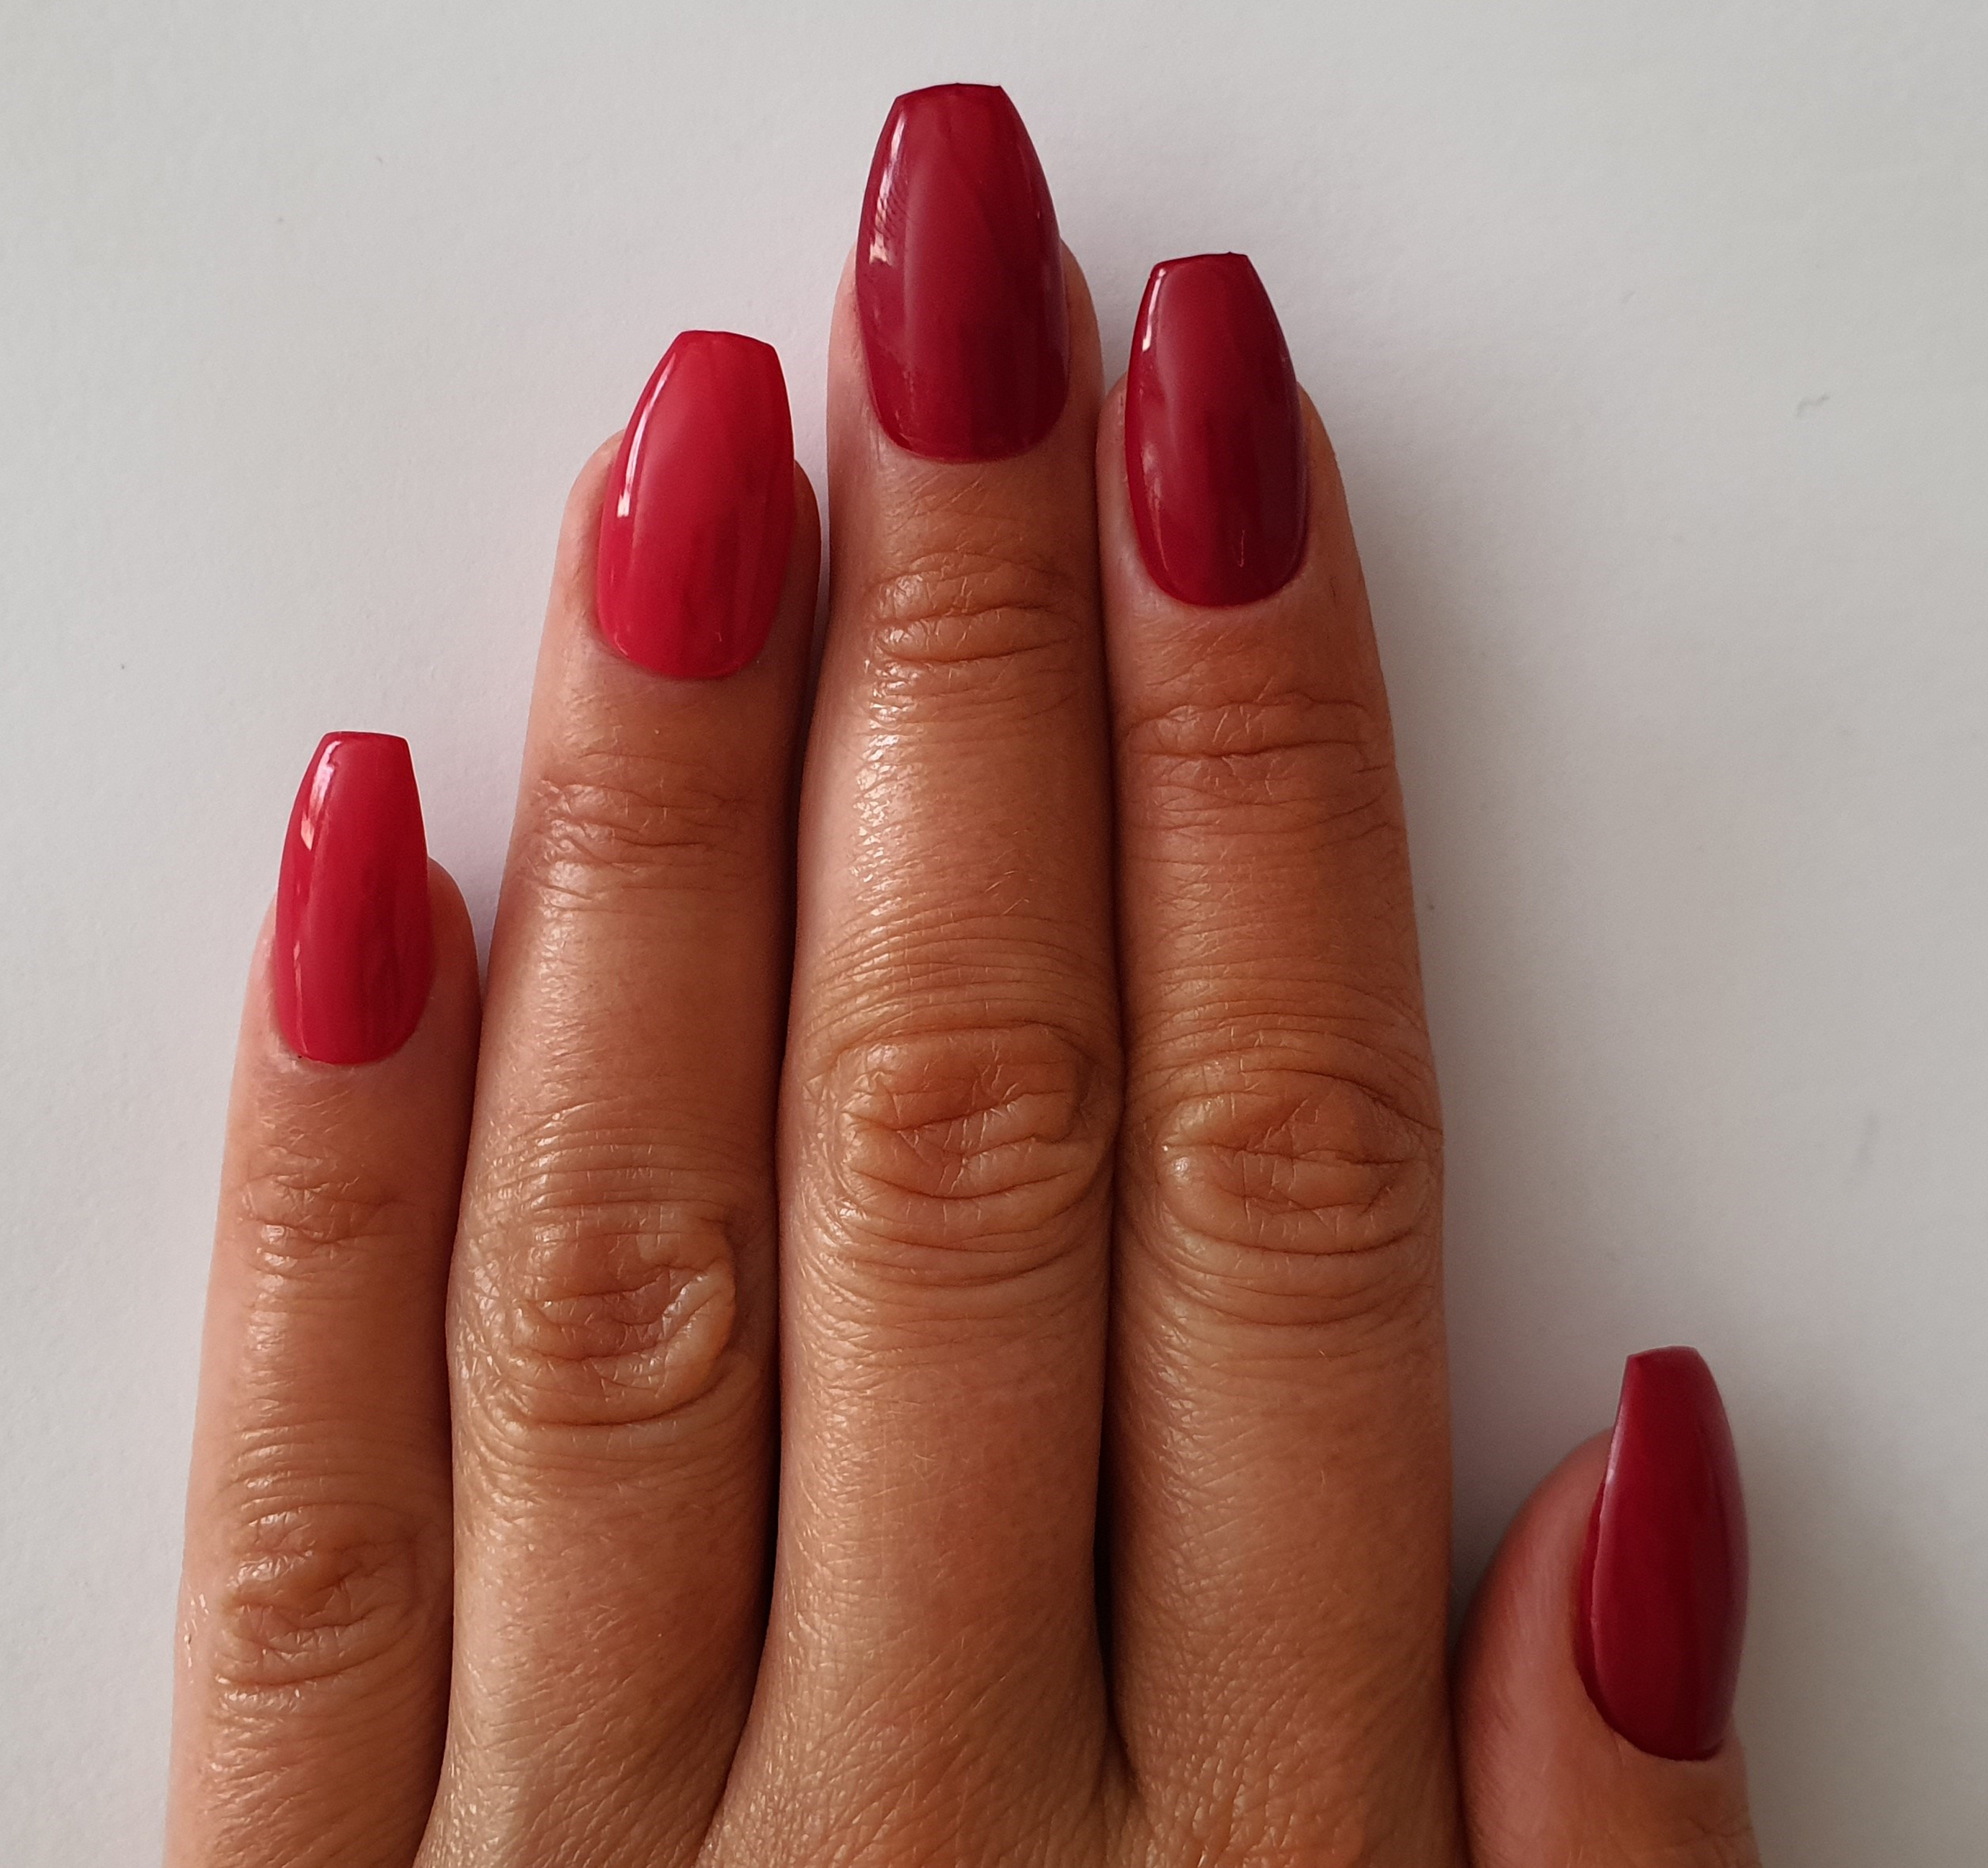
Apply a thin coat of Gellux Chilli Pepper to the pinkie and ring finger and Gellux Truth or Dare to the middle, index and thumb nails. Repeat then cure.
 Step 3
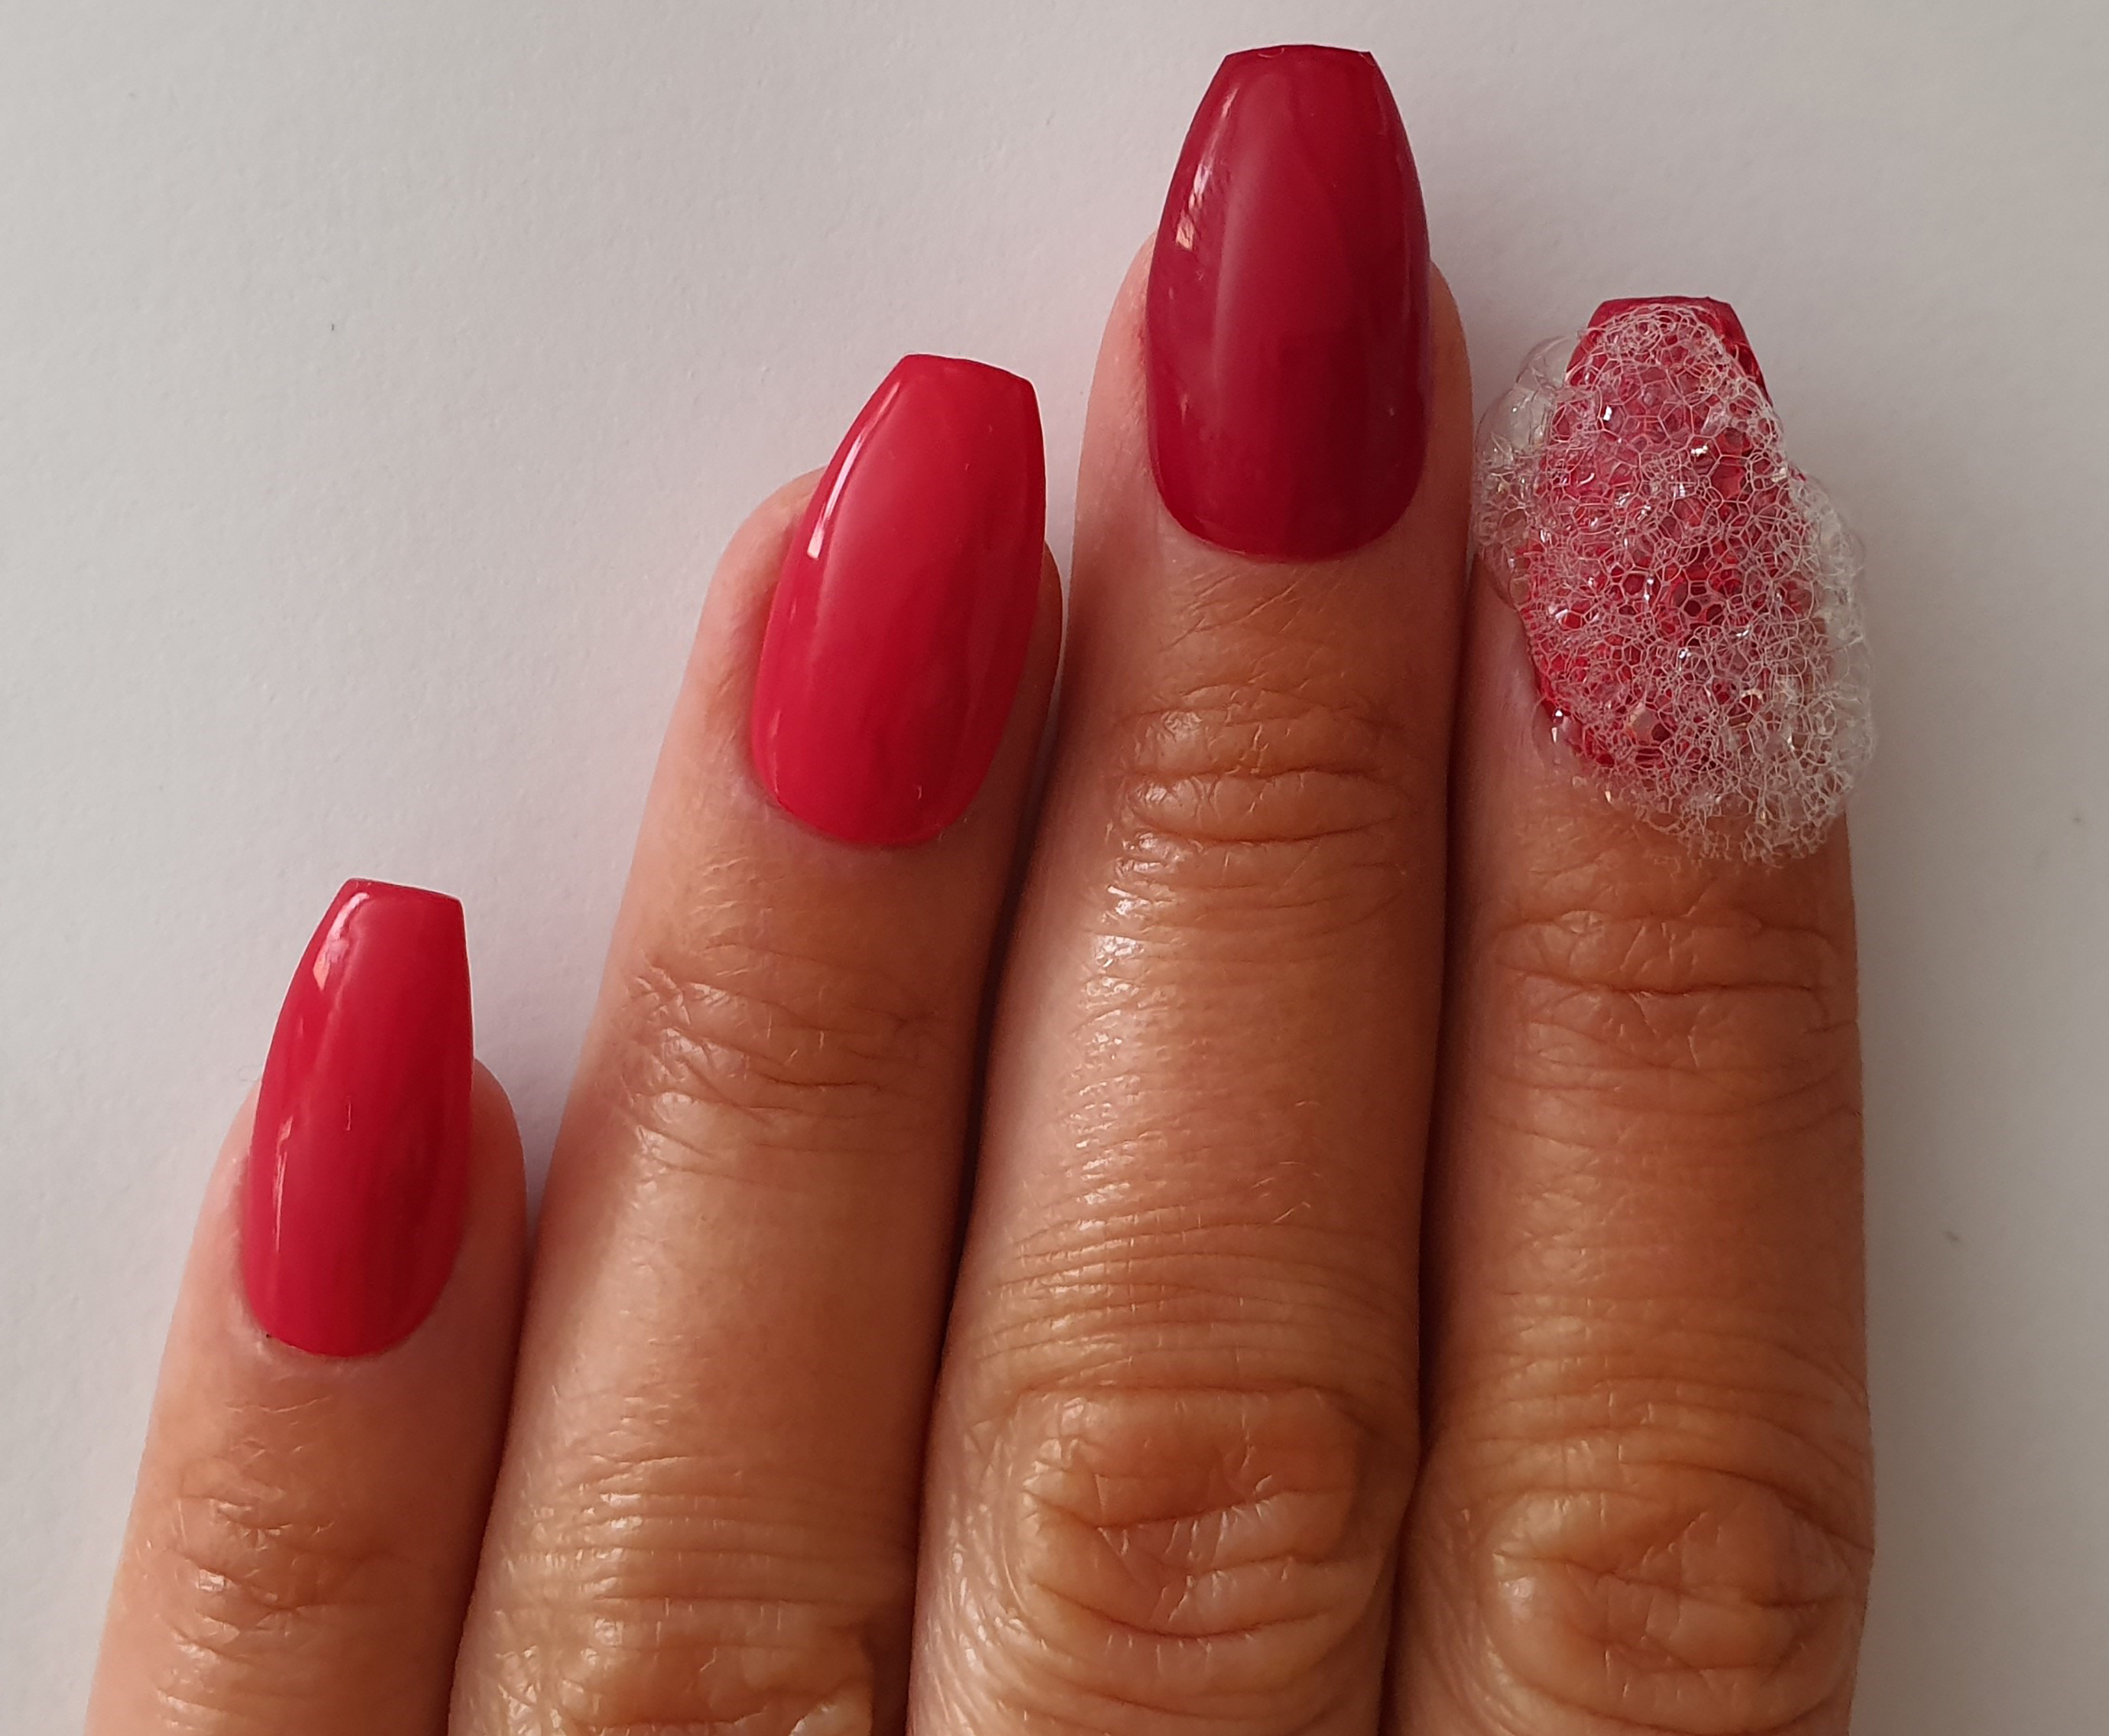
To create the bubble effect, add a drop of washing up liquid to a container and mix with a drop of water then shake the mixture to make the bubbles.
Now apply one coat of the Gellux Chilli Pepper to the index finger (do not cure yet).
Next, using a scoop, apply a blob of bubbles to the nail, and then cure.
 Step 4
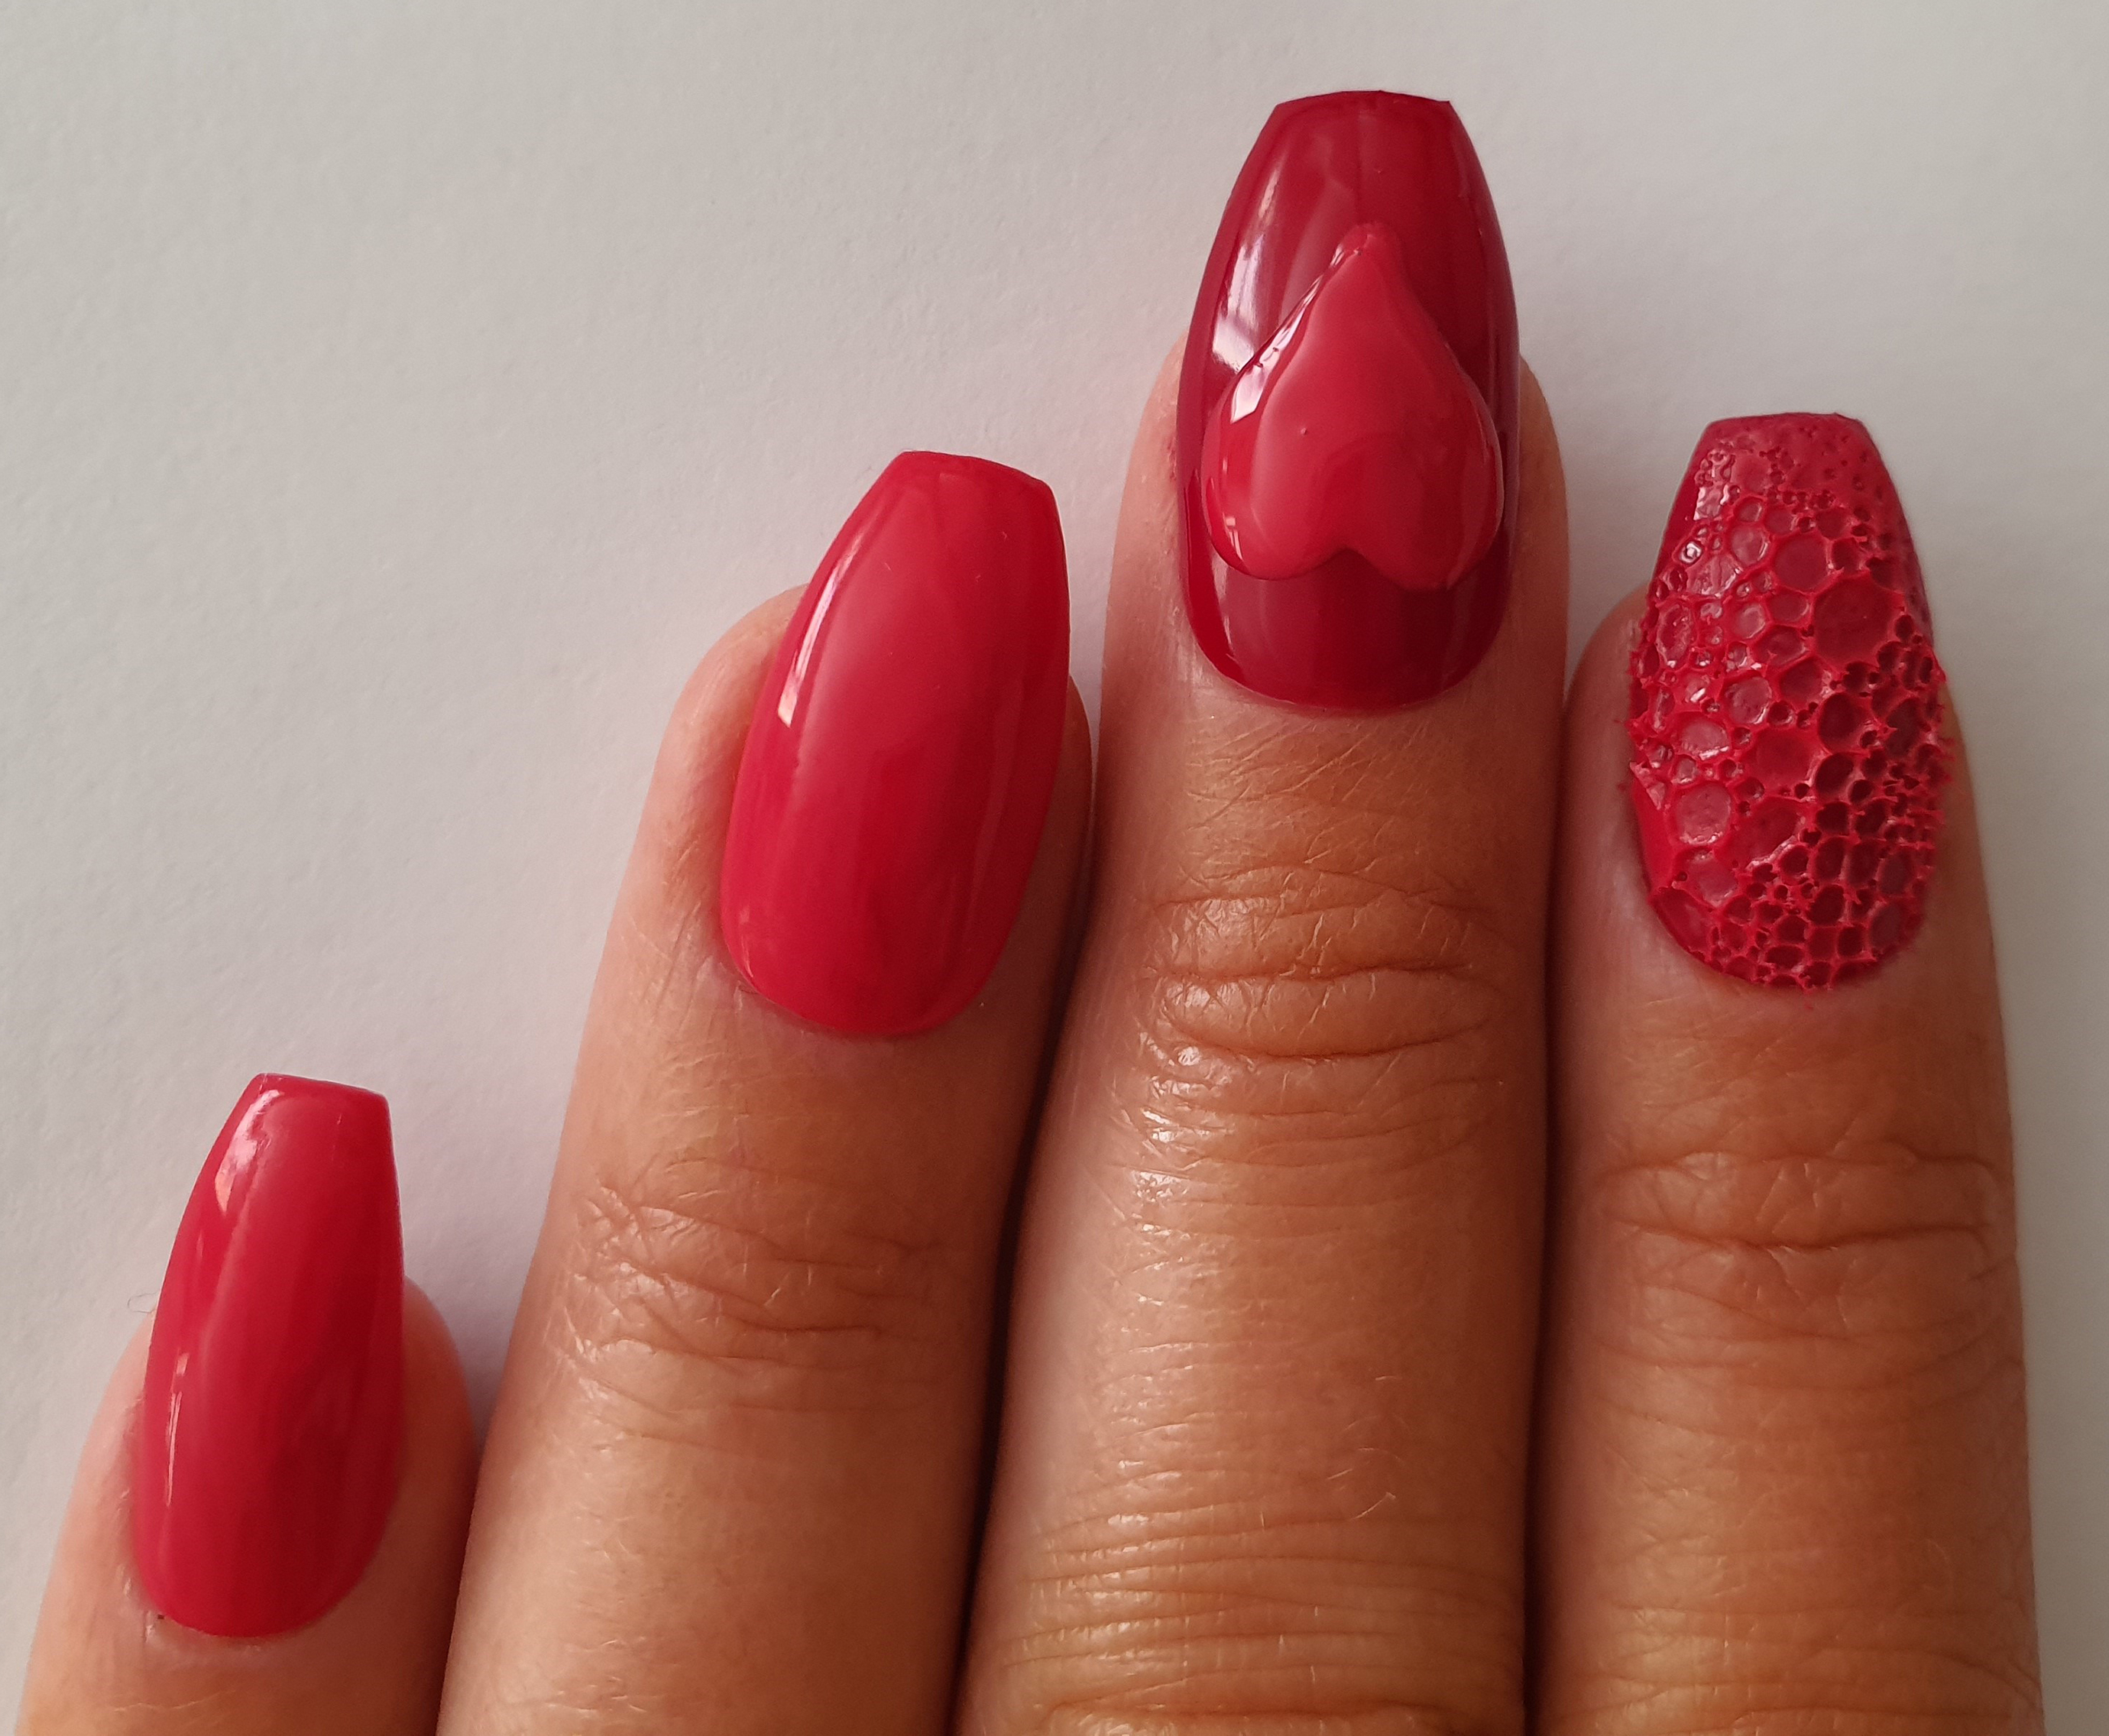
The next step is to create a medium heart on the middle finger using Gellux Chilli Pepper. Do not cure.
Then, apply a scoop of the bubble mixture previously mixed to the heart and cure. If needed, gently use a nail file to buff the top layer of the bubbles and dust off.
 Step 5
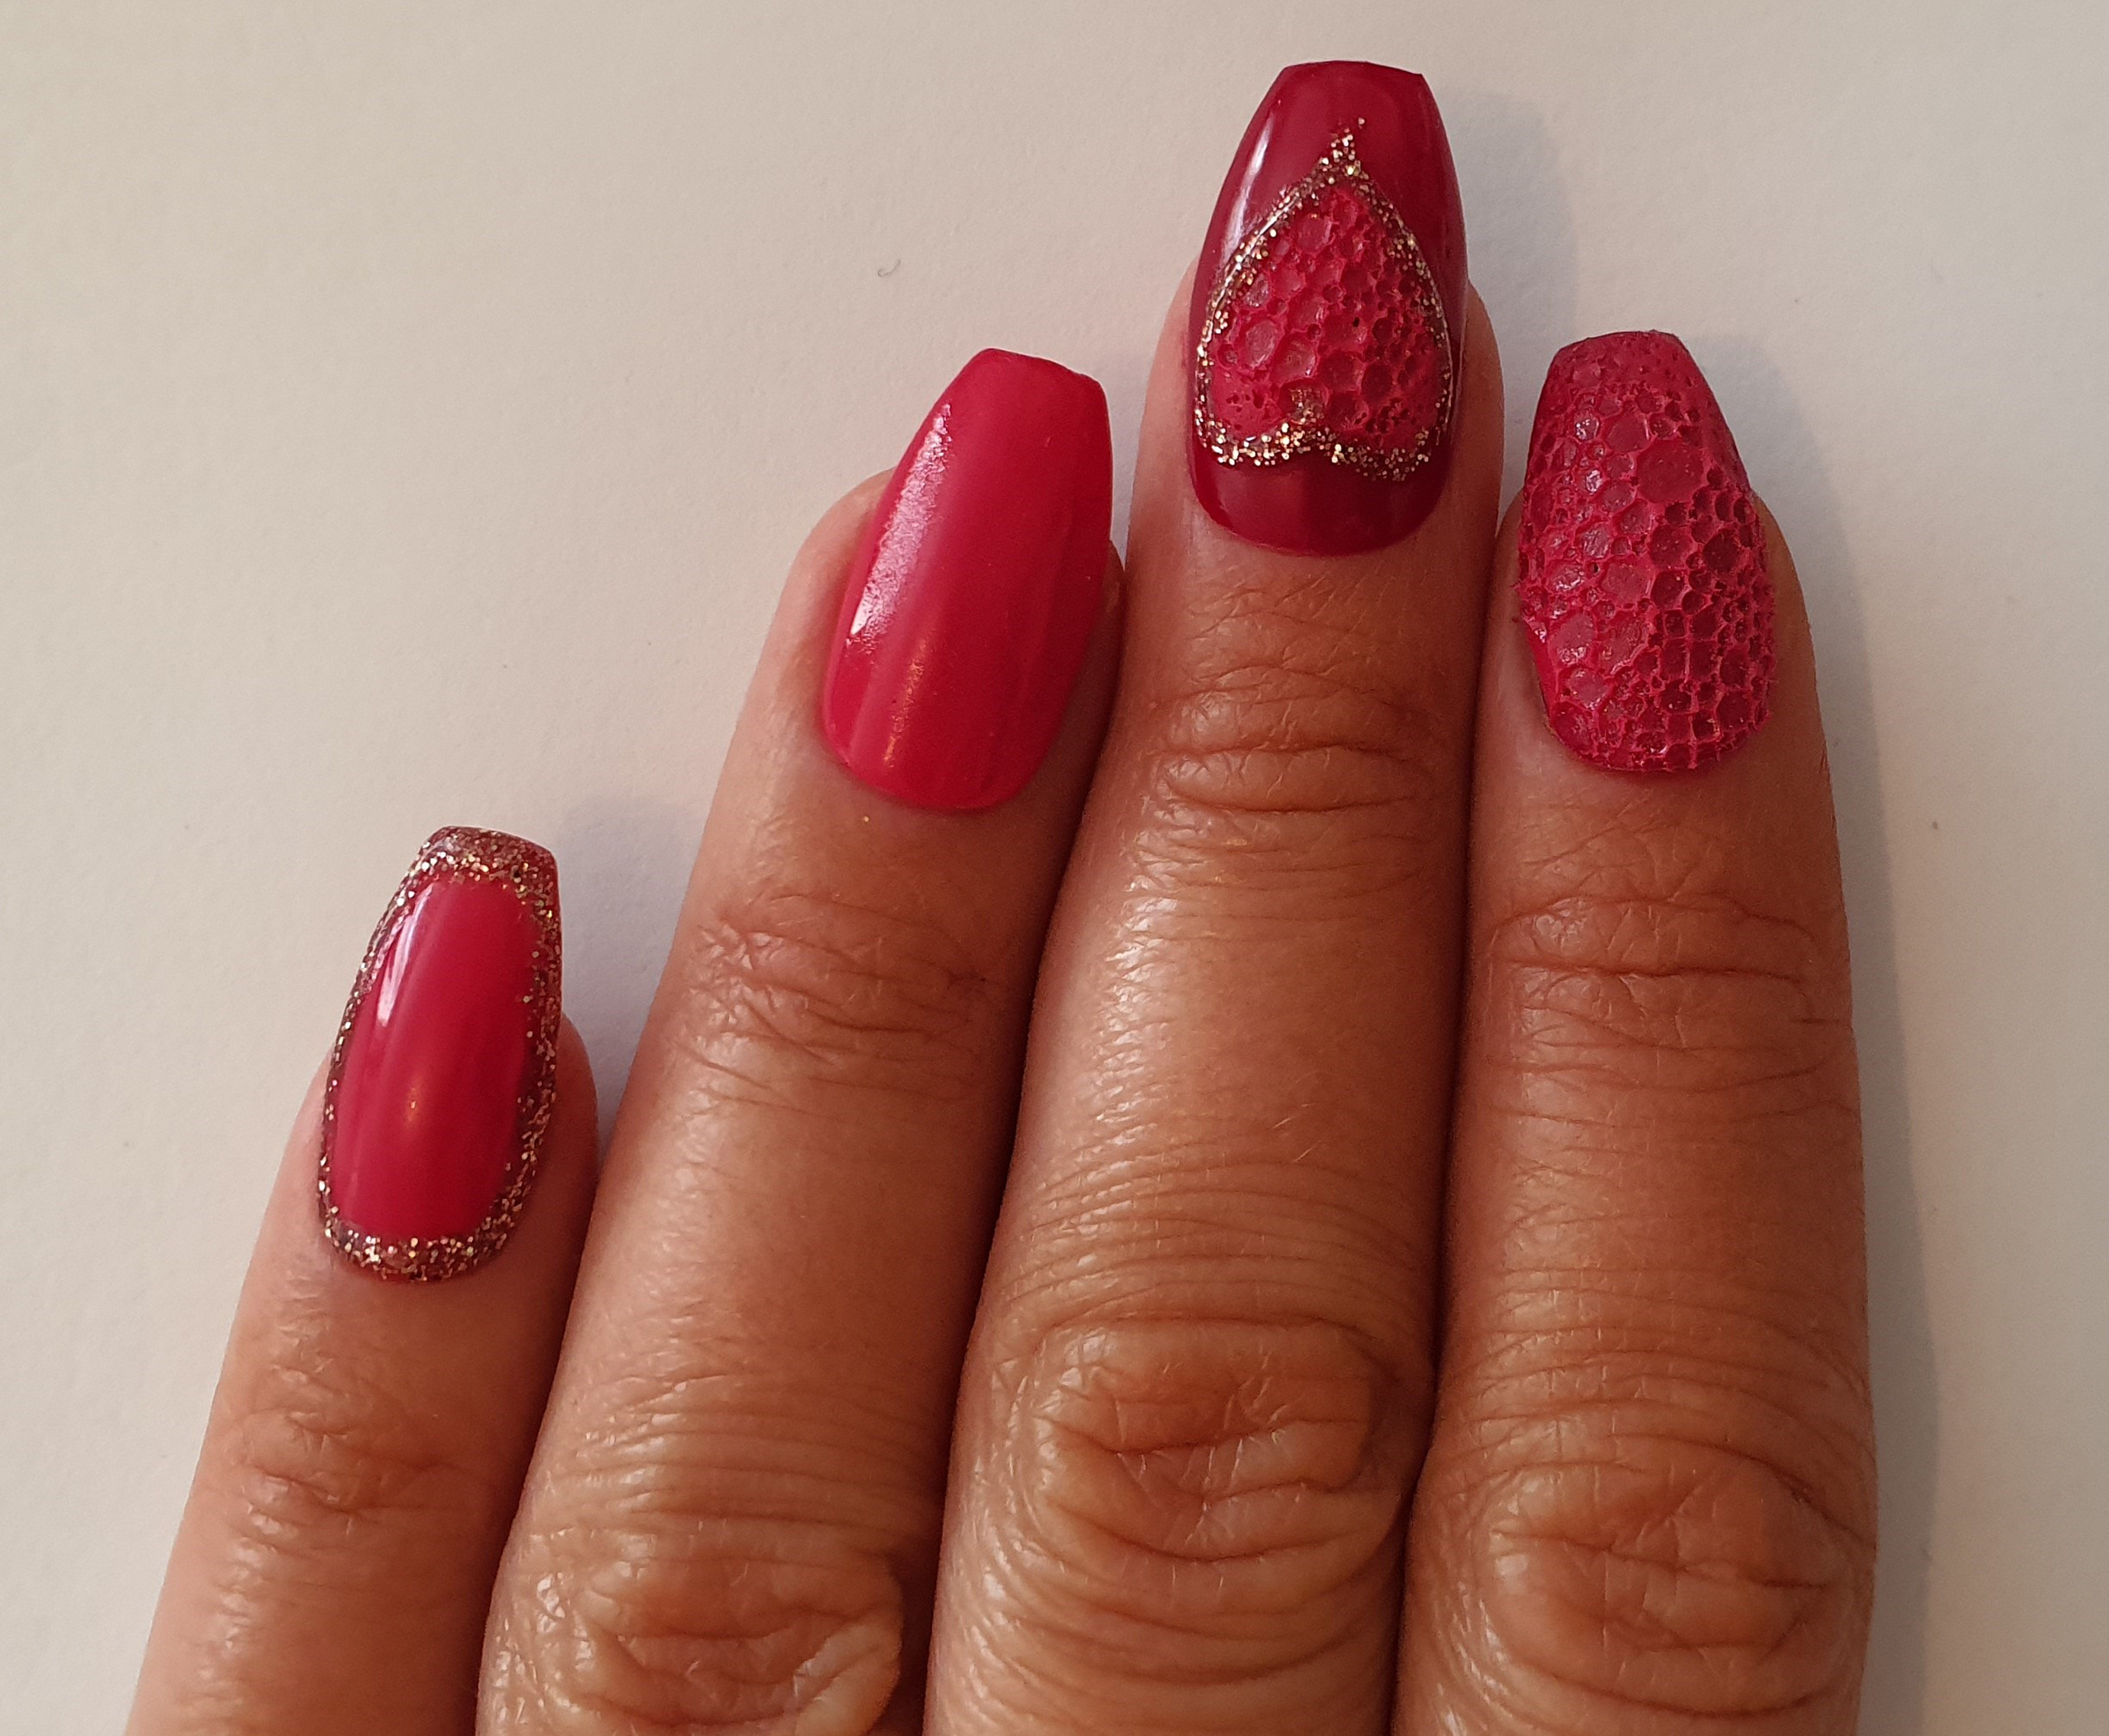
Using your thin detailing brush, border around your heart detail and all the way around the pinkie and thumb using the Gellux Rosie Gold, and then cure.
Step 6
Apply Gellux Mirror Glaze Topcoat to all nails, making sure to really get into the bubbles created and then cure. Finally, wipe the nails with Gellux Prep & Wipe and finish with the Gellux Nail & Cuticle Oil. Beautiful!


